
Backups and restore
Manual and automatic backups, and safe restores with a safety copy first.
- Reading time
- 2 min read
- Steps
- 5 steps
- Level
- Beginner
- Updated
- Updated October 10, 2026
The POS interface is in Arabic; screenshots and button names are shown as they appear in the app, with English explanations.
Your data is on your computer, so backups are yours to keep — and we make it easy: manual any time, automatic on exit, and before upgrades and imports.
1Open “Backup”
It shows the backup folder, the last backup and the list of backups with dates and sizes.
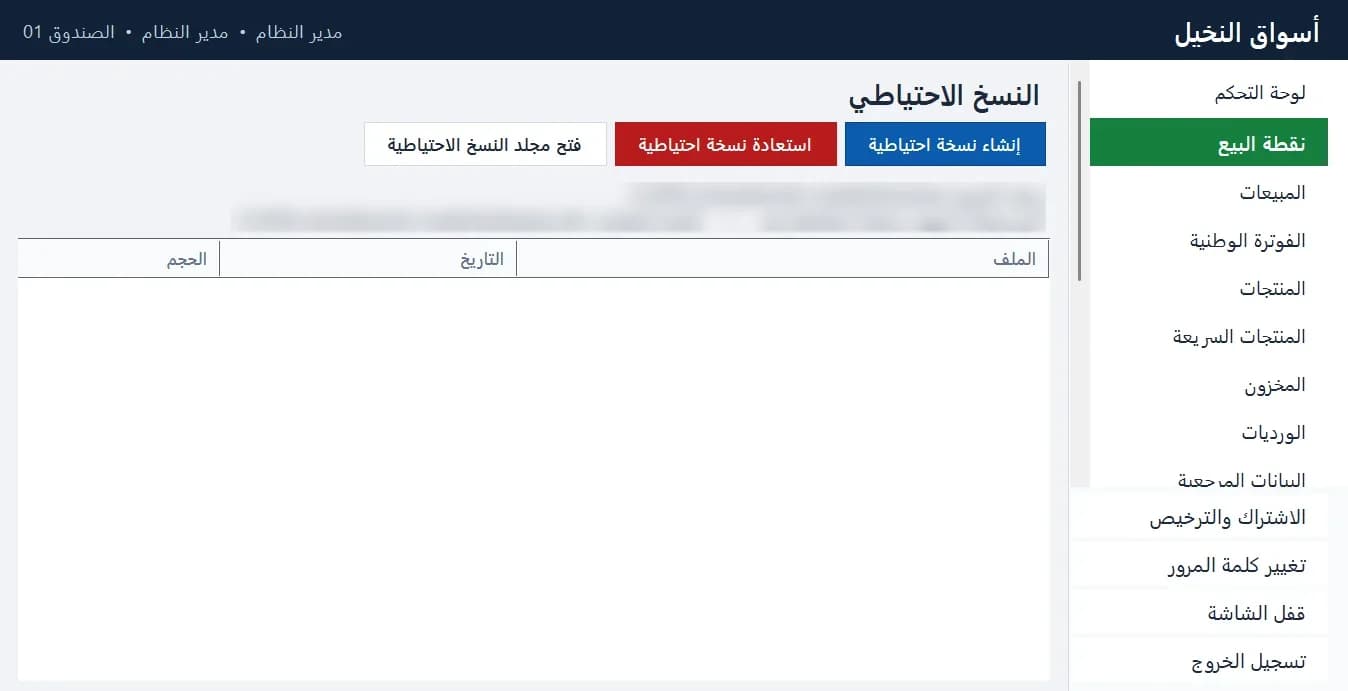
Backups: create, restore and open the backup folder (path blurred) · Arabic interface 2Back up now
Click “Create backup”. Prefer a folder on another disk, an external drive or a cloud-synced folder.
3Automatic backup on exit
Enable it in Settings with how many copies to keep. The POS also takes a safety copy before database upgrades and before any import.
4Restoring
“Restore a backup” picks a file, and the POS takes a safety copy of the current state before restoring.
Restoring replaces current data with the backup's. Check the date before continuing.
5System health
The System health page shows database integrity and size, the last backup, disk space and today's errors.