
How guests order from the table
The guest's journey from scanning the QR code to requesting the bill.
- Reading time
- 2 min read
- Steps
- 6 steps
- Level
- Beginner
- Updated
- Updated October 10, 2026
Guests need no app: they scan the table code with their camera and your menu opens in Arabic or English.
1Scan the table code
Each table has its own secret code. The menu opens in your name, logo and colors and knows the table automatically.
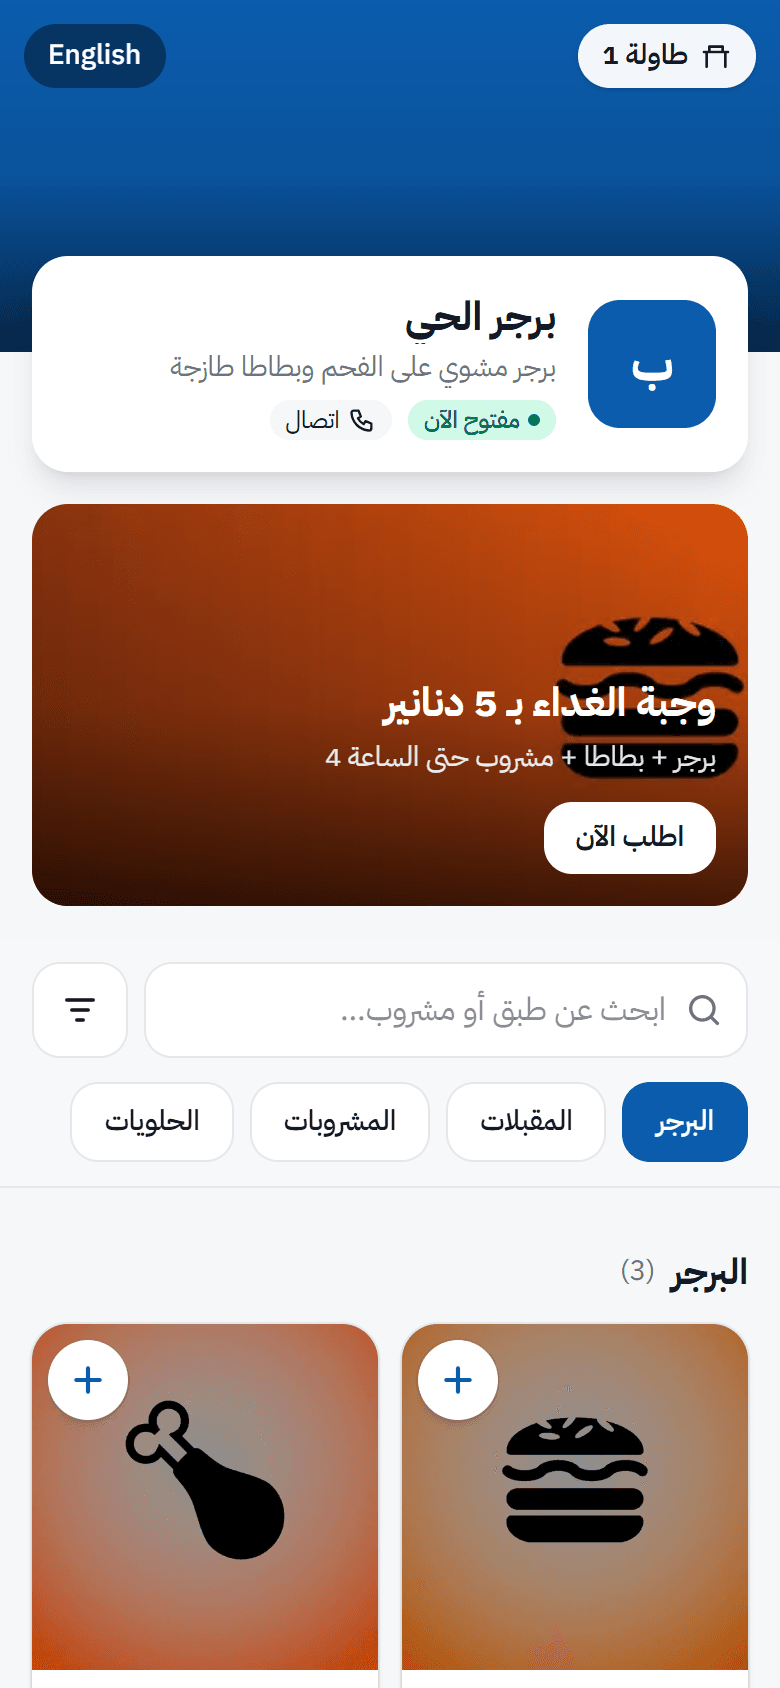
2Choose items and options
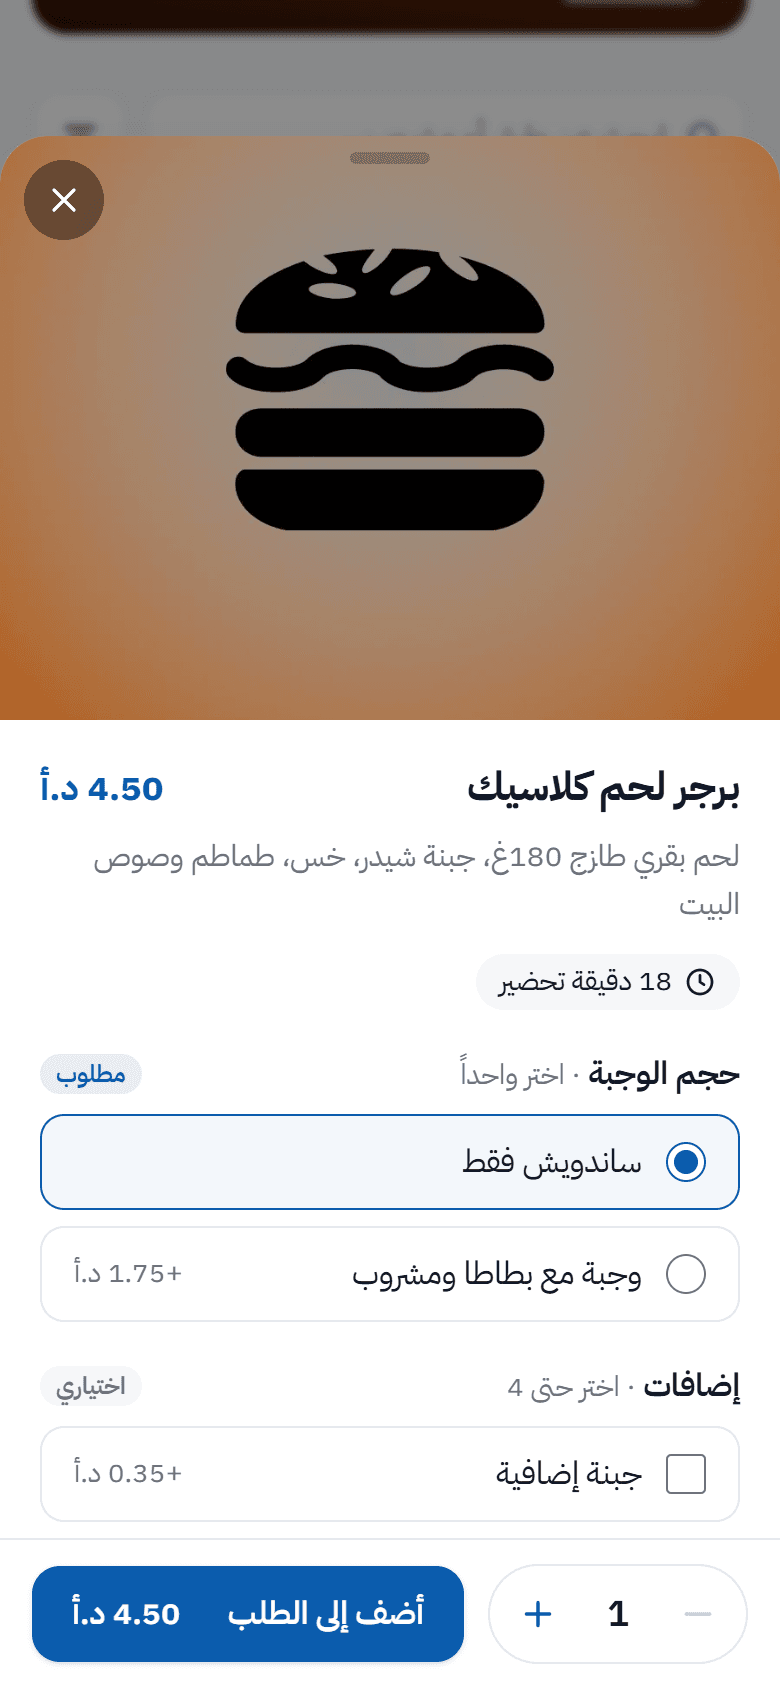
Items, prices, options and extras are exactly those in your POS. A required option (like size) must be chosen first.
3Send the order
The guest reviews the cart and sends. They see “Sent — waiting to reach the restaurant”, then “At the cashier — waiting for confirmation”.
4Tracking and expected time
Once accepted they see “Accepted” with a countdown, then “Preparing”, “Your order is ready!” and “Served”. Updates arrive live without reloading.
5Ordering more at the same table
Friends at the same table share one session. A new order joins the preparation group and never makes the estimate earlier.
6View and request the bill
After at least one accepted order, “View bill” shows every sale of the session and the total, and “Request the bill” reaches the cashier to print it.